Product Review
PVC Bike Rack for the Entire Family

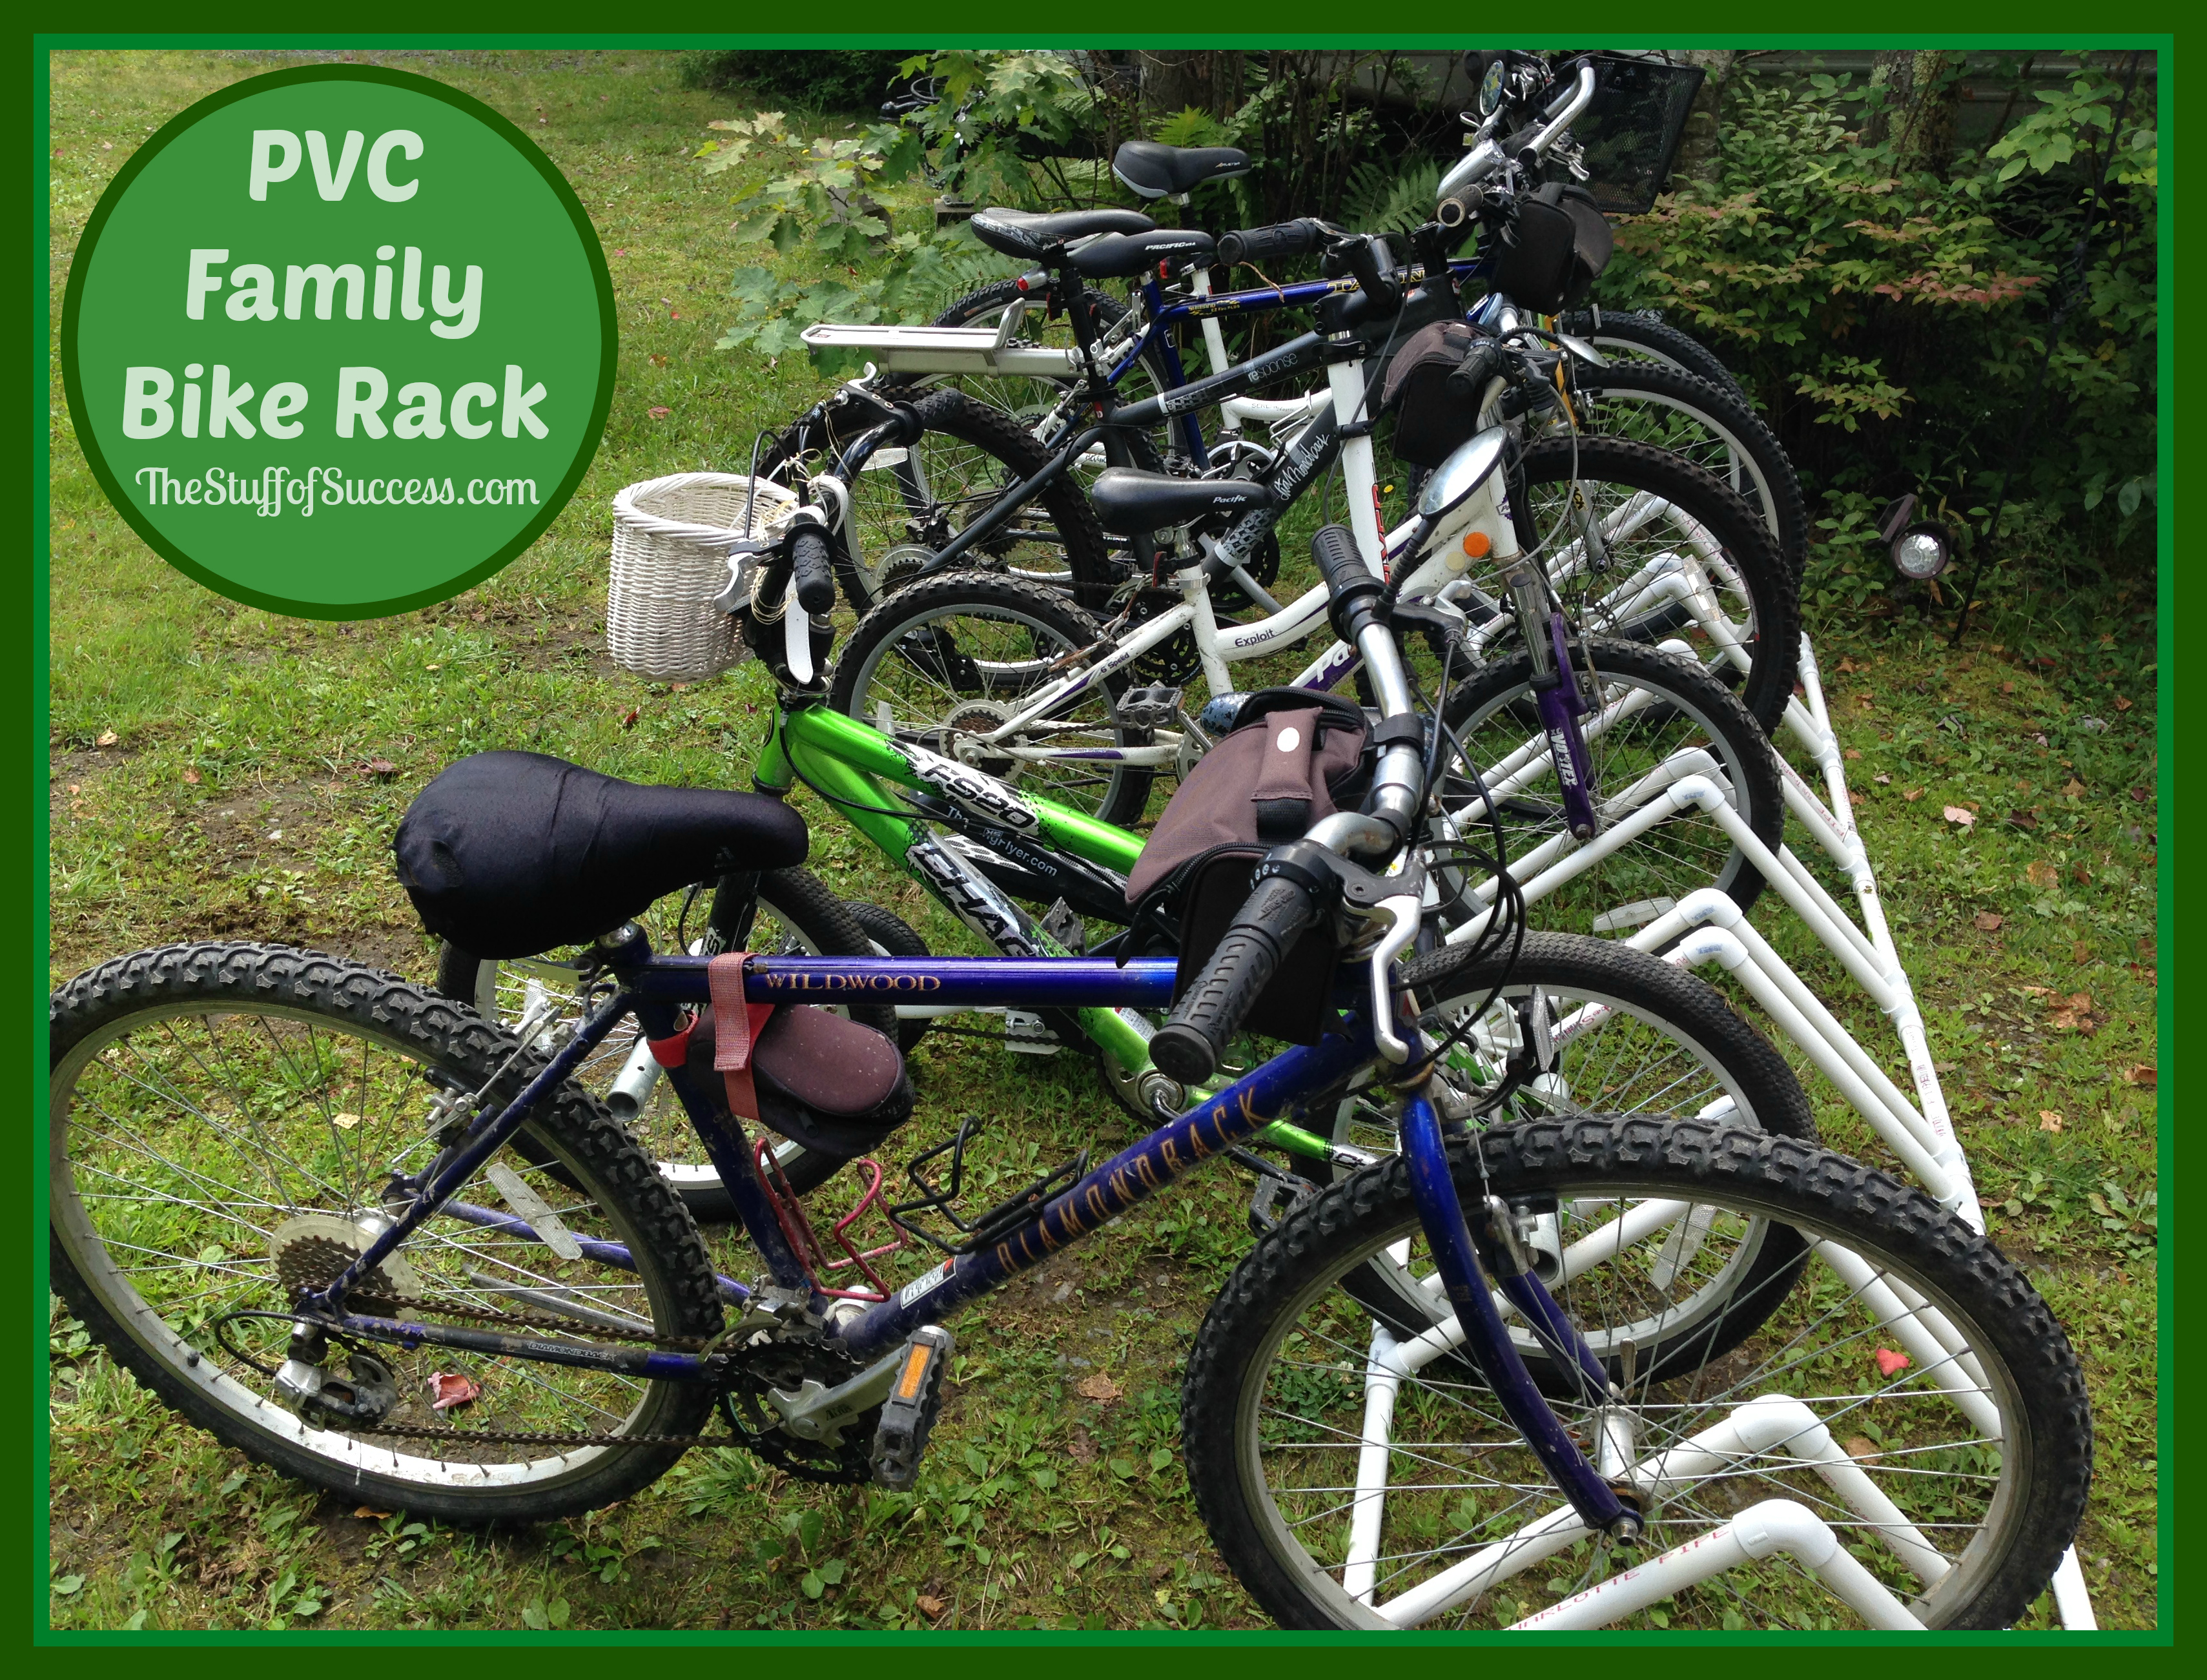
I have been wanting to make a bike rack for three years. There was no doubt in my mind I would make it from PVC but there are so many designs out there and I couldn’t decide on one. Lo and behold I finally decided on one and I am pretty happy with it. I may make some individual bike stands for at home but this works quite well for the campground.
This particular version holds seven bikes (although technically one is a zike) but it can also hold scooters. We have all wide tired bikes versus road bikes. If you are making this for road bikes or some combination of road and mountain – you will need to make a slight adjustment which I will outline.
The majority of what you will need is PVC pipe. You can use 3/4 inch or 1 inch. I made this out of 3/4 inch. It just works better for the campground environment. However at home I will use 1 inch PVC – no matter what version I end up making.
Here is what you will need to cut your PVC down to:
(2) 23-1/8″ lengths
(28) 16″ lengths
(12) 12″ lengths
(18) 2″ lengths (if for road bikes with skinny tires, make 1 1/2″)
I purchased (6) 8 foot lengths of PVC pipe and that was just enough. Cut your larger sizes first then work your way down to the smaller sizes to get the most out of your pipe. Also, I strongly encourage you to spend $10 on a PVC pipe cutter if you don’t already have one. You can use a hacksaw but for the quantity of cutting in this project – a pipe cutter is a much better option. It took me about 45 minutes to cut the pipe.
You will also need:
(28) PVC T-joints
(18) PVC elbow-joints
PVC cement (strongly recommended)
I list the PVC cement as strongly recommended because I did not use it in this project. The reason I didn’t is because we are at the campground and at the end of the season I want to be able to take this apart – either totally apart or at least into 2 or 3 pieces in order to store it in the camper for the winter. I may go back and cement the 2-3 sections but right now I am leaving it as is and have pushed the pieces together as strongly as I could. If that ends up being an issue I will resort to cementing. When I make one at home, I will absolutely be cementing because that one will not be broken down for storage repeatedly and really can stay outside all winter long.

I could detail the instructions with words but the pictures are pretty self explanatory and you can see exactly the process I used to put it together. I made it in two sections; Then I put the two sections together and finished the ends. Once you have the pieces all cut, it really only takes about ten minutes to pop it all together – exactly why it won’t bother me if I have to take it apart at the end of the season to store it.

I make all of the elbow sections first – then start piecing it all together. It is easiest for me to build it vertically (half then start the other half vertically).

Now pop the two halves together and add on the end pieces.
Now if you are going to cement the pieces – build it first! Then go back and separate each piece at a time to cement it. Otherwise your rack will not lay flat and it will never perform as it should.
Move the rack to its resting place and enjoy!


This looks so easy to build!
Interesting
From the number of bicycles I see hung on the back of cars or up on the roofs I imagine this would make a great addition to a camping trip of any duration.
This is going to be a nice little project for grandpa. We have 5 grandchildren here that don’t know how to put their bikes up. Now there will be no excuse.
That is a really cool project. I could see having one of these when my children were still living at home.
Love this design…but for my garden!! I would like to make this taller and grow my cukes on it….maybe using the bottom part as a shady spot for greens.
Well that is a really cool idea. I may just have to do that for my mother in law.