
Business
The Ultimate Guide to Modern Soil Preparation: Techniques, Tools, and Timing for Better Yields
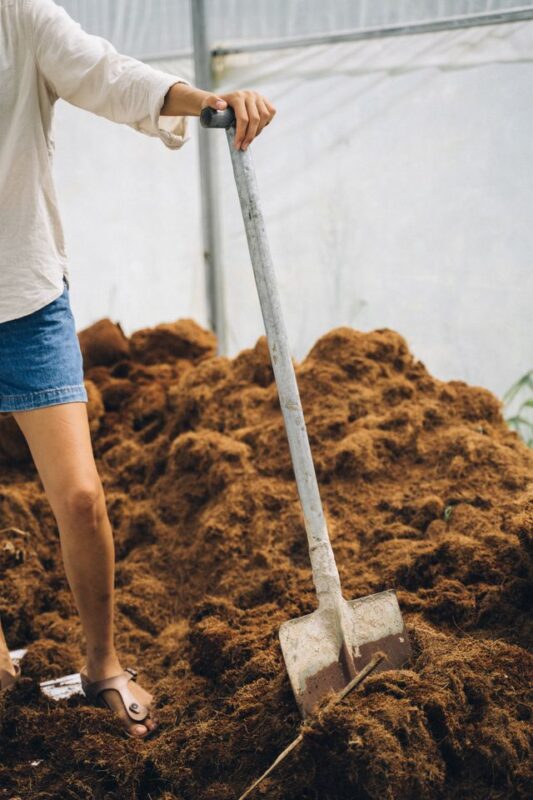
Properly preparing the soil is essential for a successful crop. It can be done in several ways, including tilling, plowing, or harrowing. Each method has its advantages and disadvantages, but the ultimate goal is to create a suitable seedbed that will promote seed germination and plant growth.
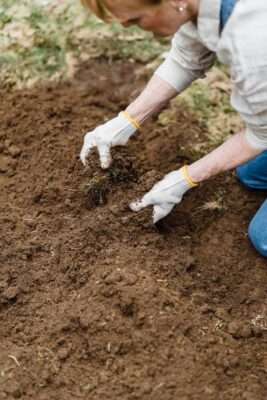
Why compaction is the problem you’re solving
Before making tillage choices, determine what compaction challenges are present, and in what quantity. Simple tools like a tile spade or soil probe can give you visual or tactile clues about how far surface roots go before turning sideways, or how moist or dry the soil is beyond 8 inches. A shovel and determination can help you dig an even clearer picture.
If density issues extend below 6 inches and into the 12-18 inch range, your problem is likely a subsoil compaction problem. This poses a serious mechanical issue in addition to the biological challenges above. Most common tillage tools can barely penetrate to 6 inches if conditions are right, with mineral pans and denser subsoils turning them back up again. The ground below the plough layer might as well be poured concrete for all the good it’s doing your crop.
The ability of roots to penetrate that dense layer in the search for nutrients and water is only part of the story. Subsoil compaction damage, unlike surface compaction, doesn’t amend itself in relatively short order. The mechanical action of roots, and the occasional freeze-thaw cycle, does little to improve soil density in the subsoil compared to the churn of alternate freeze and thaw or dry and wet in surface soil.
Diagnosing the soil before you run any machinery
Using a tillage pass and not evaluating soil condition beforehand is one of the mistakes with the highest cost in crop production. Before performing any soil work, two diagnostic tools should always be taken into account.
The first one is a penetrometer. That simple device will measure soil resistance in different points to provide you with a map profile of where exactly compaction is located. Hardpan layers are not where growers think they are, in most cases, they are 20 to 35 cm underground, just a bit deeper than the reach of a standard primary tillage pass. Knowing this exactly will let you know if you need subsoiling equipment or if disc plowing will be enough.
The second one is the hand-squeeze test for soil moisture. Grab a piece of soil from where you are about to work, squeeze it, and release it. If it holds shape and when pressing with your thumb it smears, that means that moisture is still above the plastic limit, which makes the soil smear and re-compact rather than fracture. In this case, you should wait. Wet soil will never be a solution for compaction; on the contrary, it will make it worse. The target is soil that crumbles, and this simple test shows whether it will shatter or deform when tilled.
Soil moisture tension will guide your decision. As the soil dries past the plastic limit, water changes from being a smearing medium to a fracturing medium, and that is exactly what you should be looking for when performing any tillage operation.
Matching equipment to the job
Once you’ve diagnosed the soil and confirmed moisture conditions are right, the next decision is mechanical: which implement does what, and in which order.
The broad division is between primary and secondary tillage. Primary tillage is the heavy, deep pass – moldboard or disc plows, deep rippers, subsoilers – designed to break up compacted layers, fracture hardpan, and incorporate residue or cover crop material into the profile. This is where most of the structural work happens. Secondary tillage is the refinement step: harrows, cultivators, power harrows, and rotary tillers working the top 5 to 10 cm to produce the aggregate sizing needed for reliable seed-to-soil contact.
Choosing the right agricultural implements – rotary hoes, disc harrows, deep rippers – and matching them to appropriate tractor horsepower is critical at this stage. Under-powered equipment working heavy clay soils won’t achieve the working depth or the fracture action you need, and the tractor will compensate through wheel slip, which compounds the compaction problem you’re trying to fix. Over-sized equipment on light, sandy profiles can over-pulverize the soil, destroying aggregate structure before you’ve even planted.
The second axis of implement choice is passive versus active. Passive implements – disc harrows, spring-tine cultivators – use ground-driven action. They’re energy-efficient and well-suited to lighter soils or situations where you want to work residue without excessive soil disturbance. Active implements – power harrows, rotary tillers – are driven through the tractor’s power take-off (PTO) shaft. PTO-driven tools deliver consistent working action regardless of ground speed, which makes them more accurate for seedbed preparation in variable soil conditions. The trade-off is higher fuel consumption and greater mechanical complexity.
Seasonal timing and what it changes
The same field also needs very different treatment in a wet region with high-clay-content soil, where the focus of tillage is drying and warming – without overworking the seedbed by tilling it when it’s wet. Wet soils formed through the interaction of water with clay collapse into clods when tilled; these may take weeks to break back down into soil particles and may never soften in the months left to a crop. This is part of the reason that conventional dryland farming in the American Midwest favored mechanical practices that destroyed soil structure, sealed the soil against moisture loss with a “dust mulch,” and encouraged soil water to evaporate upward into the atmosphere to get it off the field.
But in wet regions, dust mulches can cause soil to bake into clods even during midseason as the soil dries and heats, and the more you overwork a seedbed, the further you push the wet planting window. A practical rule for wet, high-clay-content soils is a minimal average spring tillage strategy: plant and irrigate where possible (to keep the soil moist while working) and avoid replanting, meaning you should not do anything that might burn off germinating seedlings, including severe tillage.
Strip-tillage as a precision hybrid
We should discuss strip-tillage separately. Strip-tillage doesn’t conform to the conventional versus no-till discussion at the heart of most tillage debates. This system only tills the narrow area where seeds are planted (usually about 15 to 20 cm) but keeps the rest of the inter-row space untilled. The advantages of the tilled strip are that it warms and dries faster than the surrounding untilled soil, which optimizes seed germination particularly in cold and humid springs. The undisturbed inter-row structure maintains moisture, keeps root biology undisturbed, and acts as an erosion barrier.
This system is particularly efficient in heavy soils where full tillage would dry the seedbed too much, and in situations where residue management is complex. It doesn’t work in every case, for instance, sandy soils do not benefit much from the warming effect of the tilled stripe, and in very high-residue scenarios, the standing material blocks the strip-till openers. For our purposes, however, these situations are rather the exceptions than the rule. In clay-loams and silt-loams, especially under the rather fluctuating conditions we have in the temperate zone, strip-till usually generates higher crop yields than both full width tillage and no till.
Calibration and the over-pulverization problem
One of the most common mistakes farmers make when conducting secondary tillage isn’t actually that they’re working the paddock too shallow – rather more often than not they’re working at excessive depth and speed. For power harrows and rotary tillers, adjusting too deep or at high PTO speed crushes aggregates beyond the level you’re aiming for, meaning fine particles are produced rather than the crumbly, 5-10mm aggregates necessary for seed germination and water flow.
Fine, overworked soil may look the part of a great seedbed in the paddock – it’s consistent, level and easy to plant – but as soon as there’s a decent amount of rain the fine particles wash across and seal the surface, creating a crust that prevents emergence and oxygen from breaking through. That’s not a rain problem, that’s a tillage problem.
Power harrow working depth should be seed depth plus a small margin. Similarly, set speed to attain the desired aggregate size – don’t go finer. Lower rotor speed before adjusting depth, not the other way around. Hand check aggregate size behind machine during the first pass and make any necessary adjustments.
Seedbed finishing: the step most growers underinvest in
Cultipackers and roller-crimpers are two effective yet unsophisticated tools that can reliably enhance crop establishment when used on well-prepared seedbeds. A simple cultipacker pass following secondary tillage helps to consolidate the loose top layer, ensure there are no air pockets around the zone into which seeds are planted, and facilitate the production of a level, firm seedbed that is beneficial to planter stability.
It is often underestimated how much air pockets in a seedbed can influence optimal crop development. When a seed is in contact with loose, non-consolidated soil, it has variable contact with moisture, which directly contributes to uneven germination and seedling timing across a field. Even a difference of a day or two at the start of the life of a plant is often easily recognizable in the field, as lagging plants never quite catch up to their earlier emerging neighbors, leading to uneven canopy development and yield loss.
The most effective roller-crimper applications are when the cover crop has already or nearly reached its maximum biomass potential. Delaying operation on overly mature stands will lead to increased hairpinning and often poor termination results with little to no impact on the performance of the cover crop.
The core principle that holds all of this together
Strategic tillage is not a recipe, it’s a way of making decisions. The first step is to diagnose what the actual mechanical or structural problem is at depth. The next is to understand that, except in emergency situations caused by extreme weather patterns, there is little to gain from sowing into moisture – the seed-drill is not a land-preparation tool. The third is to select the appropriate implement for the task. The fourth is to calibrate the implement to produce the necessary tilth. The fifth is to recognize the implicit sequence in any tillage pass starting with the opener or cutting implement, then the first cultivation or breaking implement followed by the leveling or finishing implement. This implicit sequence must become explicit in the operator’s min