
Furniture
The Beginner Guide to DIY Furniture Restoration
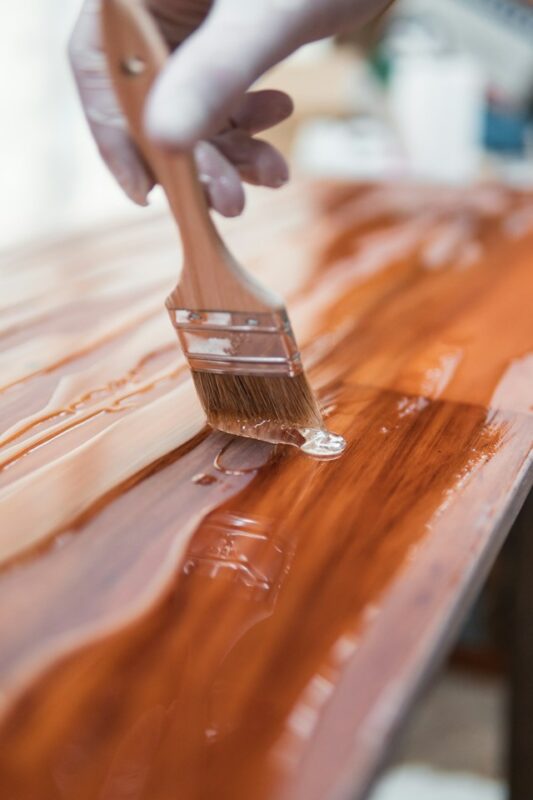
A tired side table or sagging chair can become useful again through careful DIY furniture restoration. For a first attempt, focus on sound construction and simple repairs, then work slowly enough to understand how each material responds. You don’t need a professional workshop, but you do need a clear plan, basic safety equipment and enough patience to pause when something doesn’t look right.
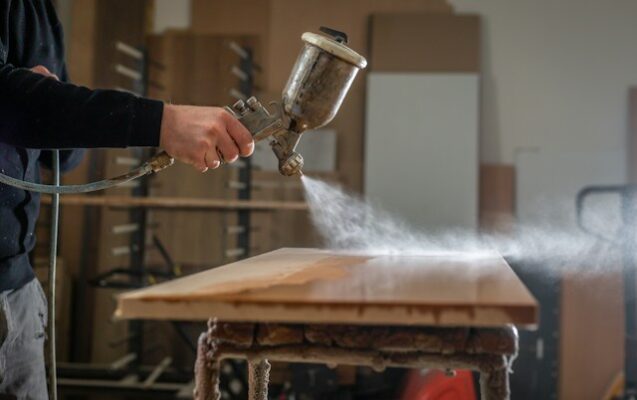
Choose the Right First Project
Start with a small piece that has a stable frame, such as a wooden stool, side table or dining chair without complicated joints. Loose screws, worn fabric and a scratched finish are manageable beginner problems. Extensive water damage, severe warping and crumbling wood usually require more experience.
Inspect the underside, back and joints before committing. Look for cracks, missing parts and previous repairs hidden under paint. If you prefer building or adapting something simple, these wood pallet DIY projects offer useful inspiration for practicing measuring, sanding and finishing without risking a valuable item. Take clear photos before disassembly so you have a reference when it’s time to rebuild.
Tools Every Restorer Needs
A basic kit should include screwdrivers, pliers, a rubber mallet, a staple remover and a measuring tape. Add medium and fine-grit sandpaper, a sanding block, wood glue and several clamps. The clamps hold repaired joints firmly while the adhesive cures, which often takes 12 to 24 hours depending on the product.
This guide to wooden furniture restoration tools provides a useful overview of common equipment and their purpose. Wear safety glasses and a suitable dust mask while sanding. Keep small fasteners in labeled containers and photograph each layer of upholstery as you remove it. Those simple habits prevent confusion later.
Upgrading Core Padding and Fasteners
Replace flattened padding when it no longer springs back or when you can feel the furniture frame through the seat. Measure the old insert at its widest points and record its thickness before disposal. Suppliers of foam and upholstery sundries can provide components such as foam, fillings, feet, castors and glides for furniture repair or custom projects.
Use the original fabric pieces as templates if you’re fitting a new cover. Leave a modest allowance around each edge so the material can wrap underneath and attach securely. Begin stapling at the center of opposite sides, checking the tension as you work toward the corners. Smooth, even tension gives cleaner results than pulling one side tight all at once.
Sanding and Treating Exposed Wood
Clean exposed wood with a lightly dampened cloth and let it dry before sanding. Start with 120-grit paper for an ordinary scratched finish, then move to 180 or 220 grit for a smoother surface. Follow the wood grain and use light pressure, especially around edges and carved details where material disappears quickly.
Older painted furniture may contain lead, so review lead-safe renovation practices before disturbing an unknown coating. Work in a ventilated area and collect dust promptly. Once the surface feels even, remove residue with a vacuum and clean cloth. Test stain, paint or clear finish on a hidden area because repaired sections can absorb color differently from the surrounding wood.
Avoid Common Novice Pitfalls
Rushing disassembly causes many avoidable problems. Don’t force a joint that seems stuck, since it may contain a hidden screw, dowel or bracket. Apply gentle pressure and examine the connection from several angles. When removing hardware, label each piece according to its location because similar screws may have different lengths.
Allow glue, stain and finish to cure for the full time listed on the label. A surface can feel dry while remaining soft underneath, and early reassembly may leave dents or fingerprints. Check the piece on a level floor before tightening everything fully, then adjust the joints until it sits evenly.
Your first restored piece doesn’t need to look factory-new. A steady chair, a comfortable seat and a finish that protects the wood are meaningful signs of success. Keep the original photos and measurements with your notes, since they’ll make the next restoration easier from the first screw to the final coat.