For The Love Of...
Photo Card – Free SVG Card Template #SilhouetteCameo #Circut #SVG


Who’s up for a quick and easy project? This is the perfect place to begin.
If you have a Silhouette Cameo just follow along with the directions below. If you have a different machine, just download the file, go to FaceBook, find a group that deals with your machine and ask. There is a FaceBook group for every cutter with people eager to help.
For the Silhouette Cameo
Download:
Download “CutCardDesign3d.zip”
CutCardDesign3d.zip – Downloaded 2860 times – 2.68 MB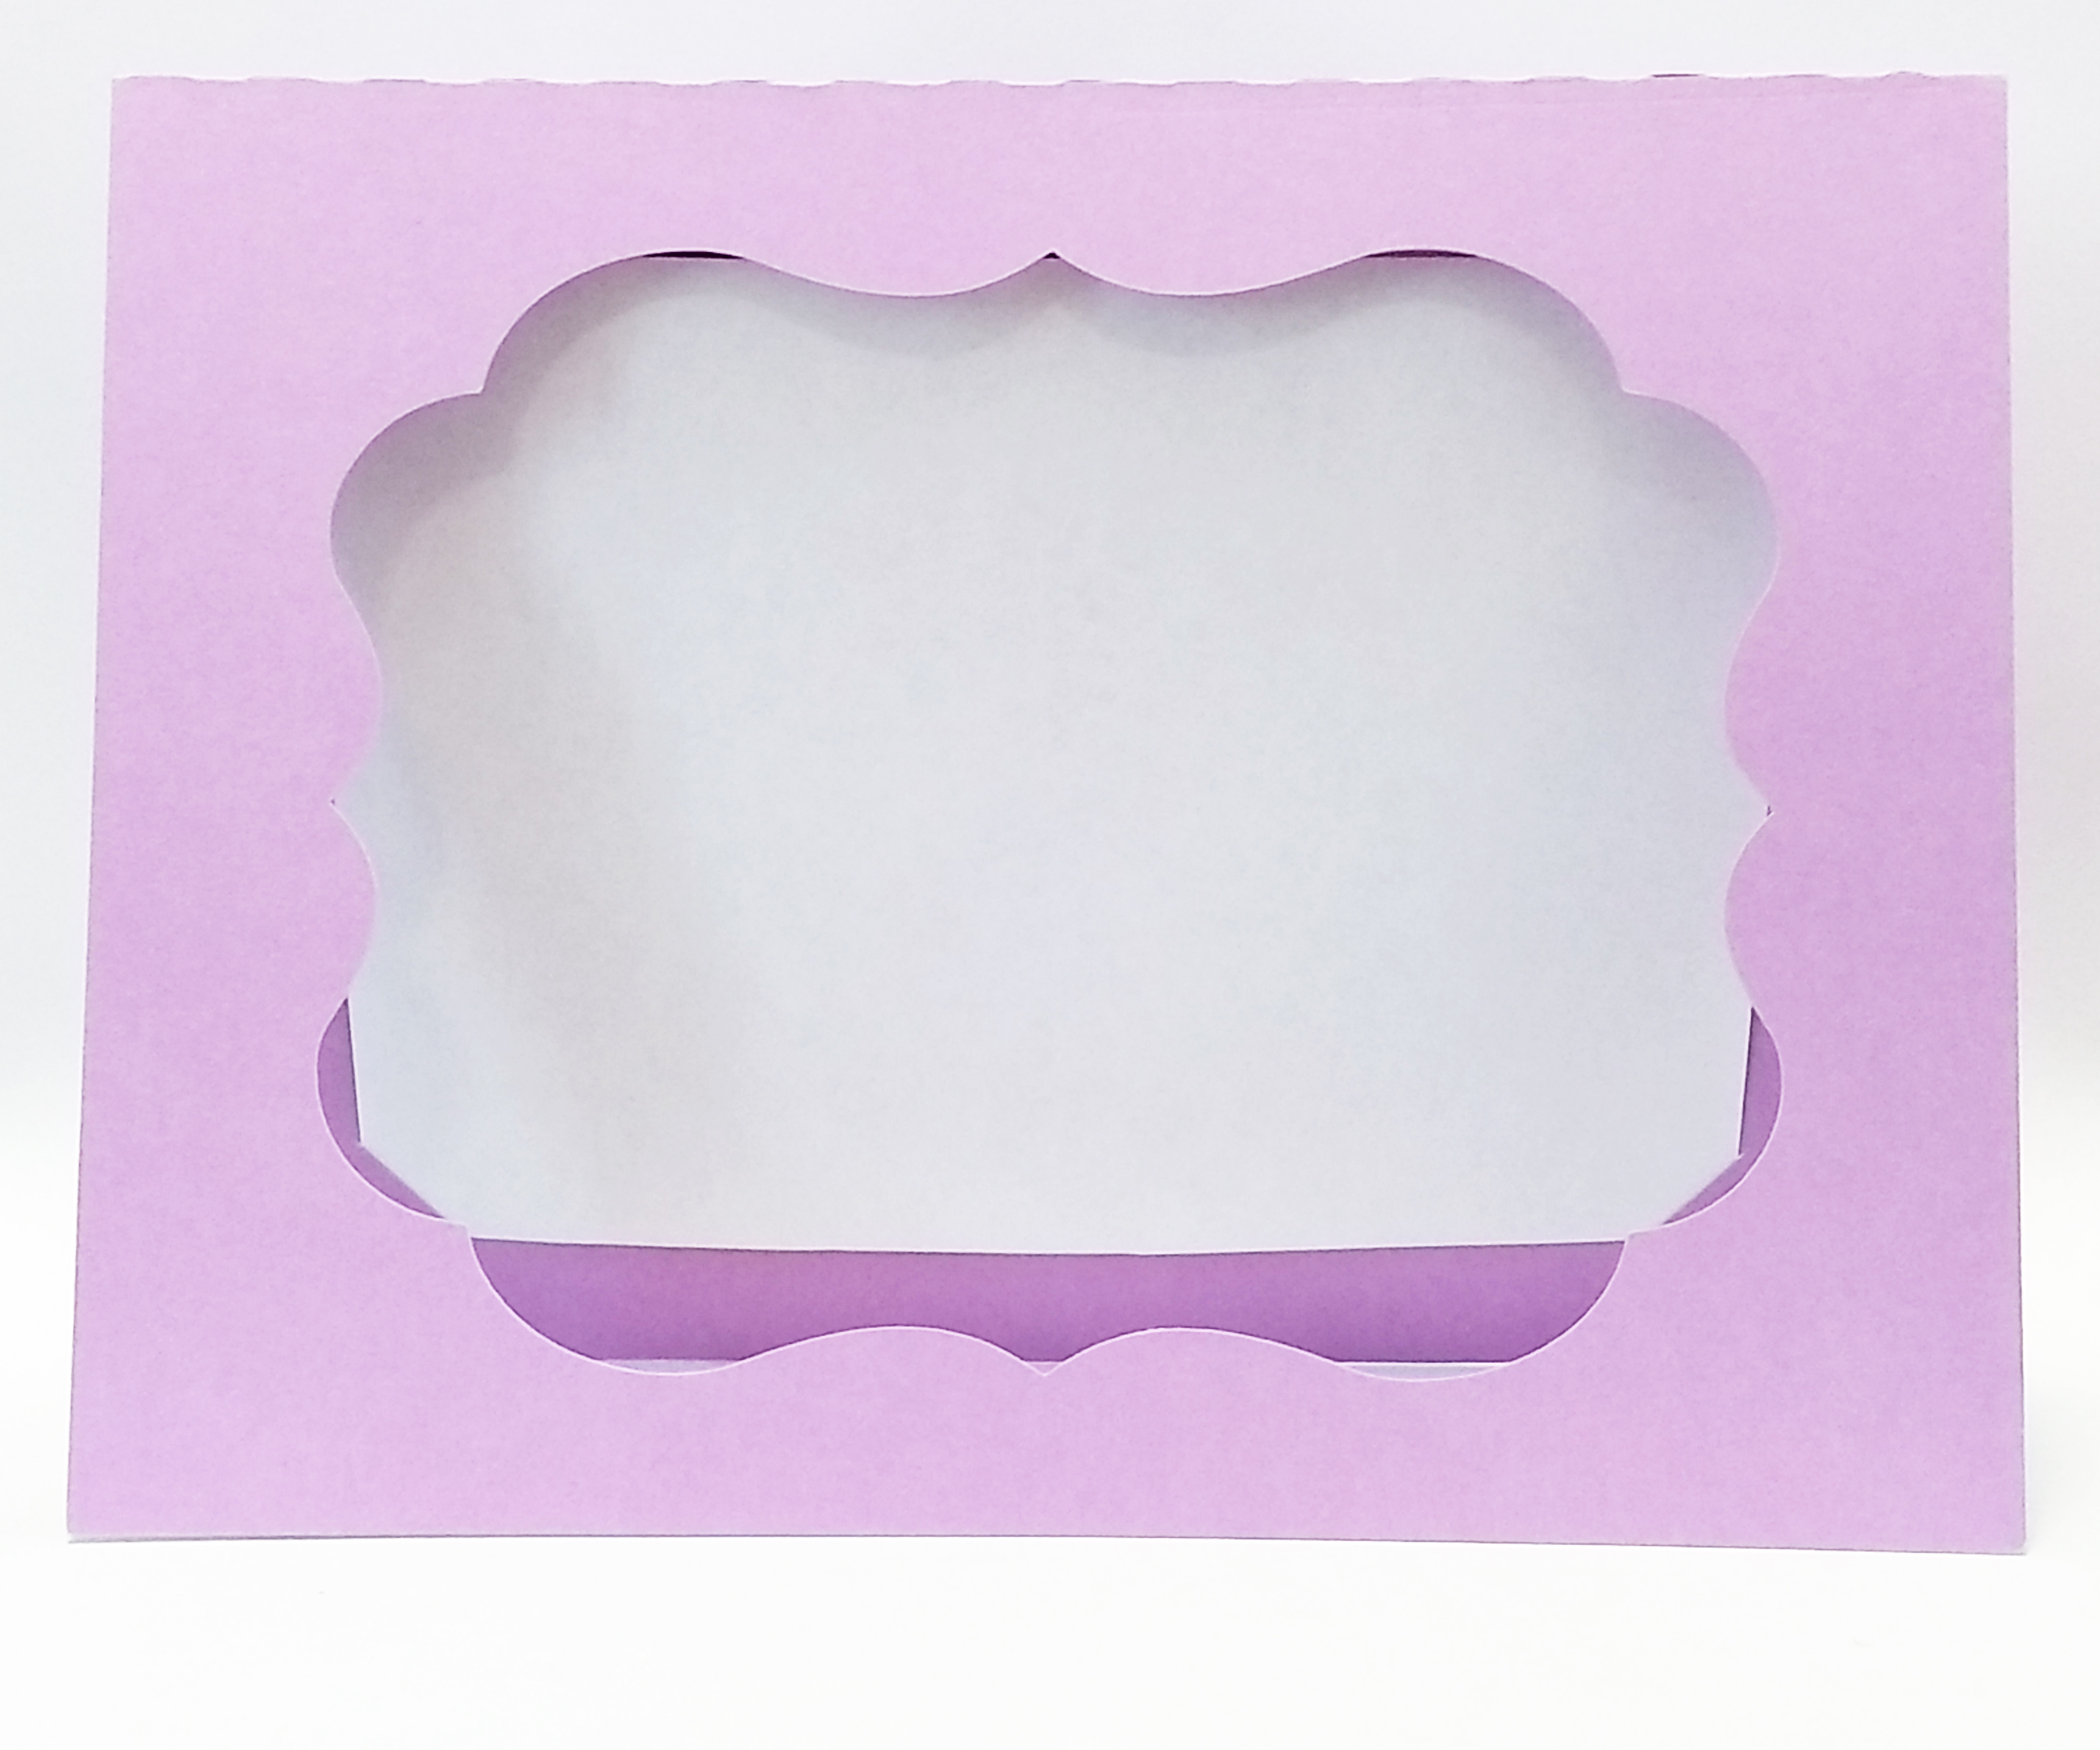
First unzip the file. Usually if you just double click on the folder you can copy all the files and then paste them into a different folder.
Once you have removed the files from the zipped folder, open the software. Usually to open a .studio file you just need to double click on the .studio file, wait a few seconds and the file will automatically open in the Silhouette software. However, if you have a finicky computer you may need to open the file within the Silhouette software.

Adjust the size as desired.
All the objects in the template may Not be grouped together. Make sure to select all the objects in the file before adjusting the size of the template.

Click Send at the top Right corner of the Silhouette Cameo software.
Click Line printing.
Adjust the speed to 4.

Once you have your paper loaded into the Silhouette Cameo machine, click Send at the bottom.
In a minute the project should be cut.
Are you interested in another Photo Frame Design? Check out this one from StuckAtHomeMom!
